Docs / Draw, present and media
Drawing
The Worlds drawing editor is for freehand drawing, editing pictures and explaining things visually: brushes, shapes it straightens for you, layers and masks, versions you can go back to, and export in several formats.
Creating a drawing
From New, choose Drawing, or run the New Drawing command from the command palette. A new drawing starts with one layer and one frame of 1280 by 720 pixels on a white background. The frame is the area that gets exported, and a drawing can hold several frames.
Parts of the editor
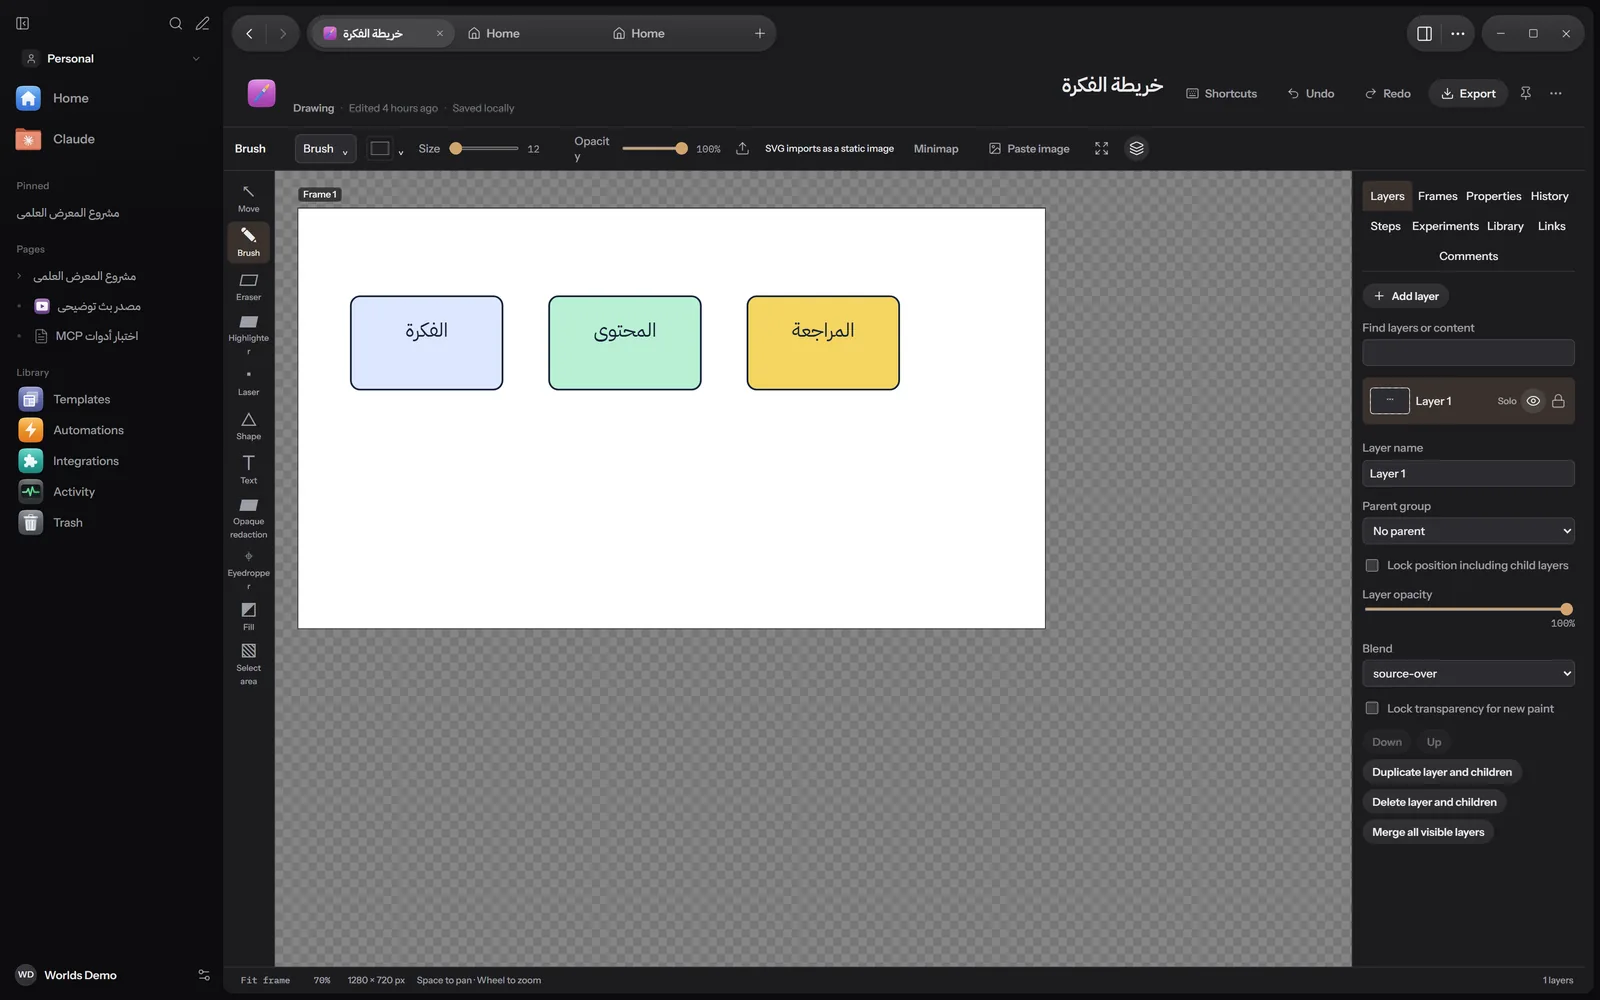
- Top: Shortcuts, Undo, Redo and Export, and the save state such as Saved locally.
- Options bar: the current tool name, the brush style (for brush and eraser), colours, Size from 1 to 2048, Opacity, Import image, Minimap, Paste image, Focus mode, and Inspector to show or hide the side panel.
- Drawing tools: the vertical bar on the left.
- Side panel tabs: Layers, Frames, Properties, History, Steps, Experiments, Library, Links, Comments.
- Bottom: Fit frame, the zoom level (click it to go back to 100%), the frame size and the number of layers. Hold Space and drag to pan, and use the mouse wheel to zoom.
Tools and their shortcuts
| Key | Tool | What it does |
|---|---|---|
| V | Move | Select, move and resize elements. |
| B | Brush | Freehand drawing. |
| E | Eraser | Erasing. |
| H | Highlighter | A see-through marker. |
| K | Laser | A temporary line that fades after a moment, for explaining while you present. |
| R | Opaque redaction | Covers part of the picture with a solid colour to hide it. |
| U | Shape | Rectangles, circles, arrows and more. |
| T | Text | Write text on the drawing. |
| I | Eyedropper | Pick a colour from the drawing. |
| G | Fill | Colour an area. |
| M | Select area | Select an area of pixels. |
| L | Freehand selection | Select an area by drawing its outline by hand. |
Commands
| Keys | Command |
|---|---|
| Ctrl + Z | Undo |
| Ctrl + Shift + Z or Ctrl + Y | Redo |
| Ctrl + A | Select all |
| Ctrl + Shift + I | Invert selection |
| Ctrl + D | Clear selection |
| Ctrl + C, X, V | Copy, cut, paste |
| Ctrl + S | Save |
| Ctrl + 0 | Fit frame |
| Ctrl + 1 | Actual size |
| [ and ] | Smaller brush, larger brush |
| X | Swap colors |
| Delete or Backspace | Delete selection |
| Space and drag | Pan the canvas |
| Esc | Cancel the current action |
The Shortcuts button opens Drawing shortcuts. There you change any key or Disable it, then Save shortcuts, or Restore defaults. Shortcuts follow the key's position on the keyboard, so they work the same on an Arabic keyboard.
Brushes
From the Brush style menu in the options bar, pick a ready-made brush: Brush, Calligraphy brush, Handwriting pen, Airbrush, Oil brush, Crayon, Highlighter, Natural pencil, Watercolor brush. If you change its settings, it shows as Custom brush.
The Properties tab holds Brush settings:
- Brush type: Hard brush, Soft brush, Pencil, Ink, Round marker, Chisel highlighter, Airbrush, Calligraphy, Oil, Crayon, Natural pencil, Watercolor, or Image tip from a picture you import.
- Size in pixels (1 to 2048), Opacity, Flow, Hardness.
- Tip spacing relative to size, Tip angle, Tip roundness.
- Smoothing (0 to 95%, default 15%) and Stabilizer distance in pixels (0 to 100) for calmer lines.
- Start taper and End taper.
- Pressure controls size, Pressure controls opacity, Pressure controls flow, and Pressure curve. These work with a pen; a mouse uses full pressure.
- Buttons to import and remove an image tip, save the brush to the library, and Reset settings.
The Laser has one setting: Fade duration (seconds), from 0.2 to 4, default 1.2.
Shapes and shape correction
The Shape tool (U) draws: curve, polyline, highlight, rect, roundrect, ellipse, triangle, right-triangle, line, arrow, double-arrow, star, polygon, callout, number. Pick the shape in Properties. To edit the points of a selected shape, use Edit path.
Correcting hand-drawn shapes
With the Brush, draw a rough shape and lift the pen: if it is close enough to a known shape, it becomes a clean one. It recognises a line, a triangle, a right triangle, a rectangle (even a tilted one), and a circle or ellipse. An unclear stroke stays as you drew it.
- The option is Correct hand-drawn shapes in Properties when the brush is selected. It is on to start with.
- The correction is a separate step: one Undo brings back your stroke as drawn.
Layers
In the Layers tab:
- Add layer, and a Find layers or content search box.
- Next to each layer: show or hide, lock, and Solo to show it alone.
- For the selected layer: Layer name, Parent group, Lock position including child layers, Layer opacity, Blend, and Lock transparency for new paint.
- Up and Down to reorder, Duplicate layer and children, Delete layer and children.
- Merge all visible layers.
Blend modes are shown by their technical names: source-over (normal), multiply, screen, overlay, darken, lighten.
Groups: there is no separate button to make a group. Select a layer, then in Parent group pick another layer so the first goes inside it. Groups can nest, and you fold and unfold them in the list.
Merging: the Merge visible layers into pixels window shows a before and after preview, then Apply raster merge. The result is one picture per frame; the original elements are hidden, not deleted, and come back with one Undo. The limit is 64 million pixels.
Masks
A mask hides part of an element without erasing it. White shows and black hides.
- Element mask: in Properties, press Add element mask. Then you find Edit element mask, Remove element mask, the Mask checkbox and Invert mask.
- Effect mask: one per adjustment, so the adjustment only touches part of the element. Its window is called Edit adjustment mask.
- Erase selected with mask: a button that appears with the eraser. It opens the mask editor ready to erase with black, at your brush size.
In the mask window: Tool (Grayscale brush, Fill region or Linear gradient, with a linear or radial gradient), paint colour white or black, Reveal all, Hide all and invert, undo and redo inside the mask, compare with the original, then Apply mask. The limit is 16 million pixels.
Adjustments (effects)
In Properties, press Add adjustment, then Choose adjustment. In the English interface they show in lower case:
| On pictures | On other elements |
|---|---|
| brightness, contrast, saturation, temperature, grayscale, invert, blur, sharpen, pixelate | brightness, contrast, saturation, grayscale, invert, blur |
Each adjustment has an on/off checkbox, Amount, move up and down, its mask, and Remove. Pictures also have Reset adjustments, Restore original, Crop and compare and Rasterize adjustments. Adjustments do not change the original picture until you rasterize them.
The eraser
The eraser (E) uses the same brushes and settings. Erasing does not destroy what is underneath: it is an erase stroke you can undo. You cannot erase on a layer whose transparency is locked; a message tells you so. Other ways to erase: the Erase selected with mask button, or deleting the pixels of an area selected with Select area.
Pictures
Import image accepts PNG, JPEG, WebP, BMP and SVG, and Paste image places a picture from the clipboard. An SVG file comes in as a static picture. The largest picture you can import is 256 MB, and the largest SVG file 32 MB.
Saving and versions
Every edit is saved on your computer straight away, and the save state shows at the top: Saved locally, Saving, Waiting to save or Save needs attention. Undo works on your own last 200 edits.
In the History tab:
Save a named version
Save named version keeps the current drawing under a name you choose.
Preview before restoring
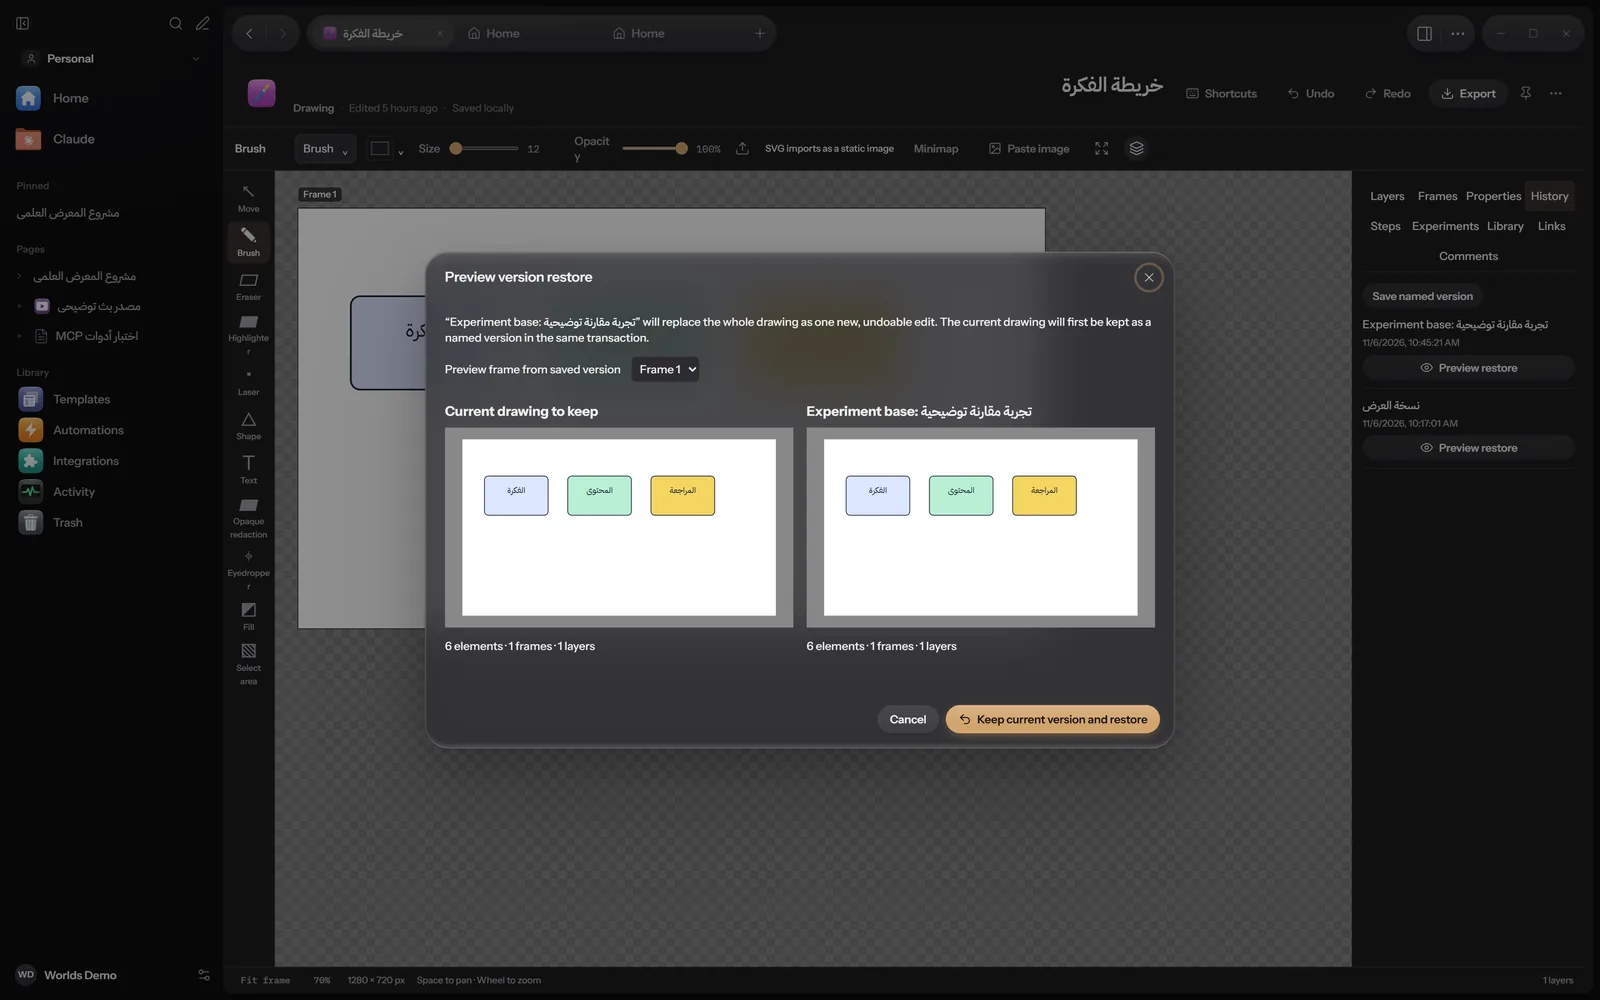
Each version has a Preview restore button. The window shows the current drawing and the old version side by side, and you can choose which frame to view.
Restore without losing anything
Keep current version and restore first saves the current drawing as a named version, then brings back the old one as a single edit you can undo.
Experiments
An experiment is a separate copy of the drawing where you try changes without touching the original, then compare and choose what to adopt.
Create an experiment
In the Experiments tab press New experiment, type a name and a description, then create it and edit.
Compare
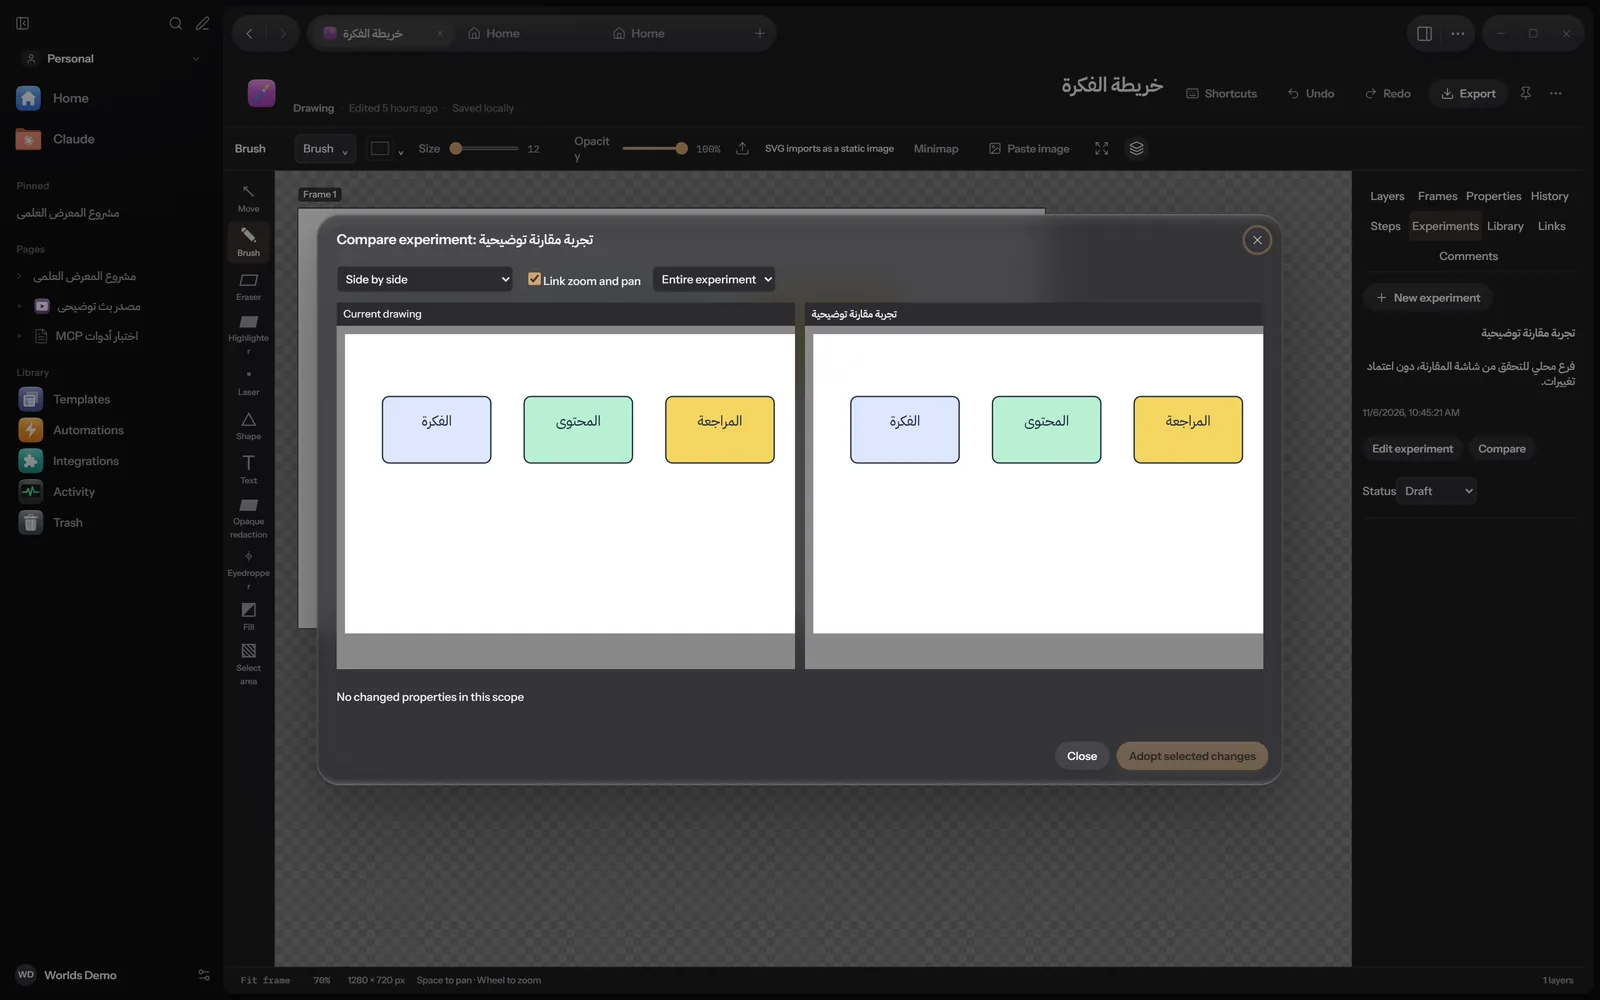
Compare shows the two drawings Side by side, with a Before / after slider, or with Highlight changed elements. Link zoom and pan keeps both sides together.
Adopt what you want
Choose the scope (Entire experiment or part of it). When there is a conflict you choose Keep current, Use experiment or Keep both as separate elements. Then Adopt selected changes.
Each experiment has a status: Draft, Review or Approved.
Export
Press Export at the top to open Export drawing:
| Format | When |
|---|---|
| PNG | A full-quality picture. It also has a Copy PNG button for the clipboard. |
| JPEG, WebP | Smaller pictures, with a Quality setting. |
| BMP | An uncompressed picture. |
| SVG (flattened image) | An SVG file that holds the drawing as a picture, not as editable shapes. |
| Selected frames as PNG archive | A zip with one picture per frame you choose. |
| Clean and annotated PNG archive | Each frame twice: without and with annotations. |
Editable Worlds project (.worldsdraw) | The whole drawing, to open and edit in Worlds later. |
Options: Frame (or Choose frames for an archive), Scale from 0.1 to 8, Include annotations, and Transparency background for JPEG and BMP. For an editable project you choose whether to include a preview, the operation history (up to 500 operations) and experiments (up to 24).
Below the options you see an exact preview of the picture that will be saved, with its size in pixels and kilobytes. Then Save file. Export works on a frame or frames, not on a selection or a single layer.
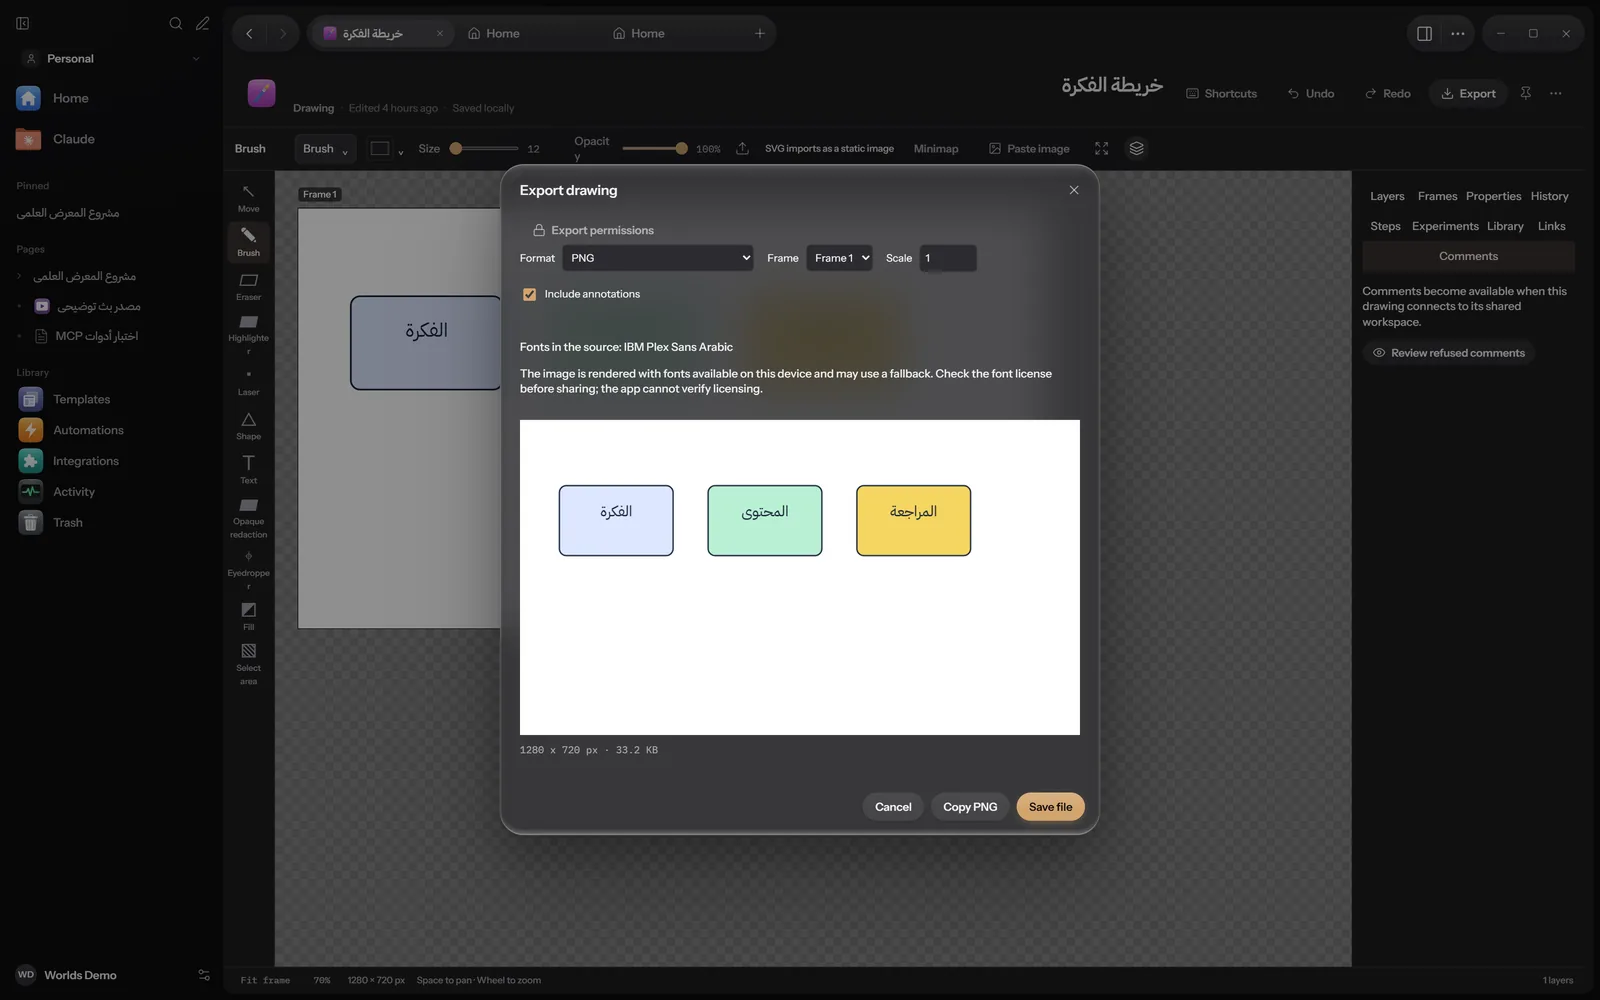
If the drawing has text, the window lists the fonts it uses. The picture is drawn with the fonts on your computer and a fallback font may be used. The app does not check font licences, so check them before you publish.
The Export permissions button is for shared drawings: it sets who may export pictures and presentations, and editable projects, by permission level. Changing it needs full access. See Sharing.
Linking a drawing to a resource
In the Links tab:
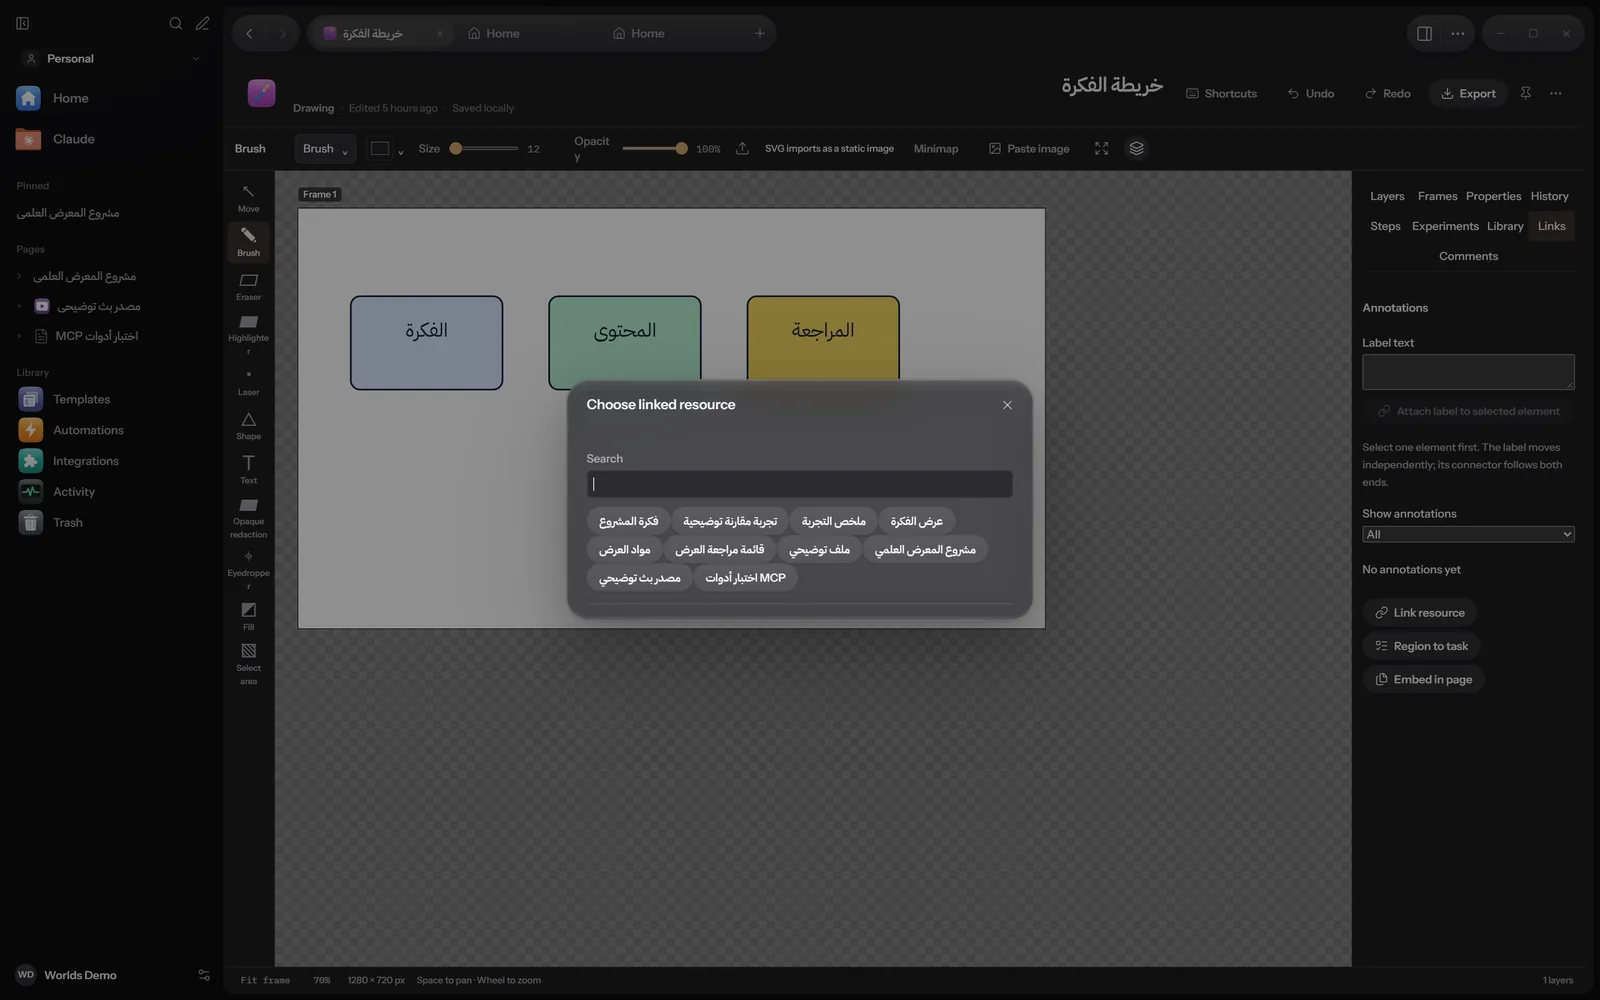
- Link resource: opens Choose linked resource, with a search box and your pages, documents and presentations. The linked resource shows as a Live link card that follows it.
- For each link: Freeze snapshot to keep it as it is now, Follow live source to go back to live, Relink, and Open source.
- Region to task: select an area of the drawing and create a task linked to it.
- Embed in page: puts the drawing inside a page, with an option to pin this exact revision.
- Annotations: labels you attach to a selected element that move with it.
Limits
- Frame
- Up to 16384 pixels per side and 64 million pixels
- Imported picture
- Up to 256 MB
- SVG file
- Up to 32 MB
- Image brush tip
- Up to 16 MB and 2048 pixels per side
- Project file
- Up to 512 MB
- Export file
- Up to 256 MB
What works where
| Feature | Windows | Apple | Android |
|---|---|---|---|
| Layers, brushes, eraser | Yes | Partly: layers, blend modes, masks, eraser, all shapes and brushes, but no image brush tips | Yes: pen, pencil, highlighter, eraser, layers with four blend modes |
| Shape correction | Yes | Yes | In progress |
| Pictures and reference elements | Yes | In progress | Reference pictures yes |
| Export | All formats above | .worldsdraw project | PNG and drawing project |
The Apple and Android apps are still in progress. Details in Install.