

Docs / Install
Install Worlds on Windows
One setup file installs Worlds for your Windows account, and it works offline because it carries everything it needs. This page goes through every window you will see, in order.
Before you start
- File
Worlds-1.0.0-Windows-x64-setup.exe- Size
- 302 MB
- System
- Windows 10 or Windows 11, 64 bit (x64)
- Installed to
%LOCALAPPDATA%\Worlds, so only for your account on this PC- Your pages
%APPDATA%\Worlds, with the fileworlds.dband the attachments folder- WebView2
- A Microsoft component that displays the Worlds interface. It is inside the setup file and is installed offline if your PC does not have it.
Install step by step
Download the setup file
Open the latest release page on GitHub, scroll to Assets and click
Worlds-1.0.0-Windows-x64-setup.exe. It goes to your Downloads folder.Edge or Chrome may say the file is not commonly downloaded. That is because the file is new and unsigned. In Edge, click the three dots next to the file, choose Keep, then Show more, then Keep anyway. In Chrome, choose Keep.
Check the file (optional)
Before opening it, you can compare its fingerprint with
SHA256SUMS.txt. See the install overview. The right fingerprint for version 1.0.0 starts withd25f7c74and ends withfd30ee4a8.Open the file, then click More info
Double click the file in Downloads. A blue Microsoft Defender SmartScreen window appears. At first it has no button to continue, so click the More info link.
The first SmartScreen window. The link to click is marked 1. Check the name, then click Run anyway
New lines appear: the app name and the publisher. Make sure the name is
Worlds-1.0.0-Windows-x64-setup.exe. The publisher reads Unknown publisher because the file is not signed with a certificate; that is expected. Click Run anyway.After More info, the Run anyway button appears, marked 2. Setup does not ask for administrator rights, because it installs Worlds for your account only. Windows may ask for your permission if setup has to install WebView2 on a PC that lacks it.
Welcome page: click Next
The setup wizard opens. Its windows are in English even when Windows is in Arabic. Click Next.
The welcome page of the setup wizard. Install location: keep it and click Next
The suggested folder is
C:\Users\yourname\AppData\Local\Worlds. Keep it and click Next. On the next page (Choose Start Menu Folder), keep the name Worlds and click Install.The install location page. The folder is in your account, so no administrator rights are needed. If a page says a version of Worlds is already installed, this is an update. Keep the suggested choice and click Next. Your pages are not deleted. See Update and uninstall.
Wait for it to finish, then click Finish
Wait until the progress bar fills. On the last page, leave Run Worlds ticked and click Finish. Worlds opens, and from then on you find it in the Start menu as Worlds.
The last page. Run Worlds opens the app straight away.
What you see the first time
The first thing you see is Welcome to Worlds. Click Start on This PC to begin right away without an account. Your pages are kept on your PC and work offline. You can add an account later in Settings, when you want to share a workspace with other people.
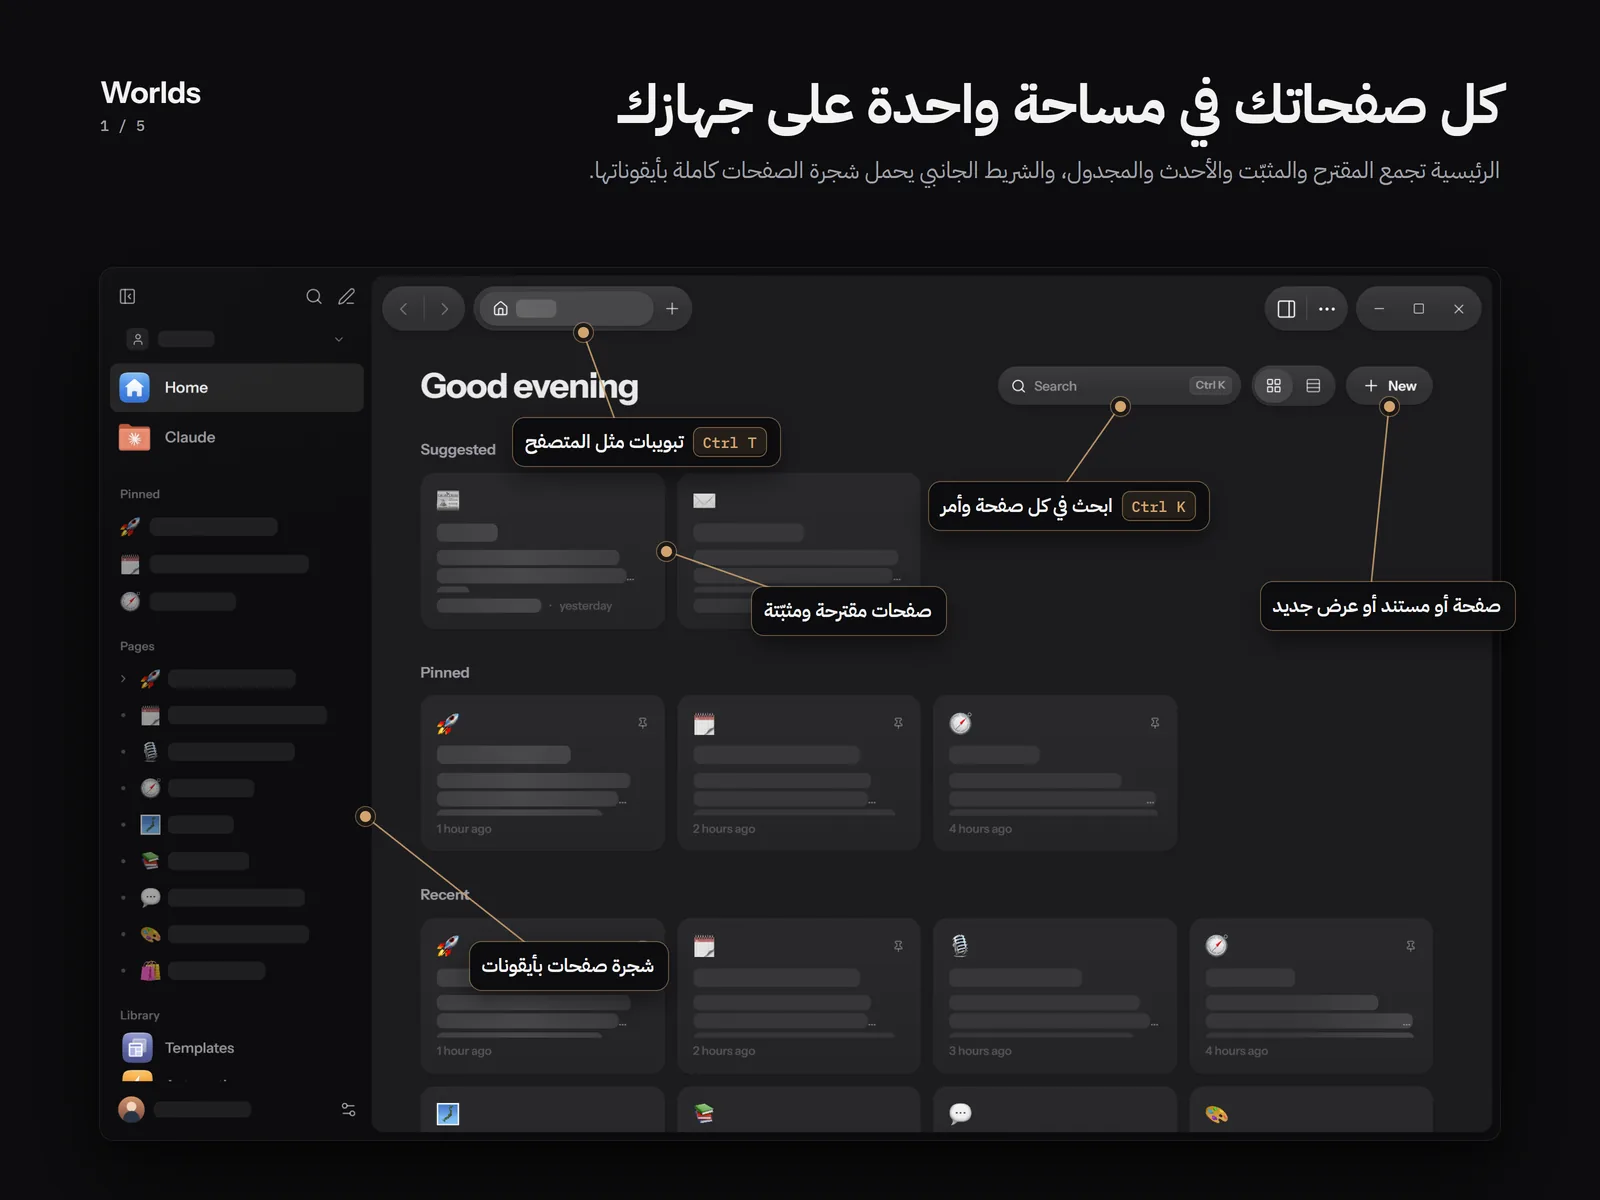
Then Home opens: suggested, pinned and recent pages, with the tree of your pages in the sidebar. To look around before you write, click Load sample workspace on Home; you can remove it later.
- Language: the Worlds interface follows the Windows language on its own. To change it, open Settings, then Language, and choose English or العربية.
- Closing the window: the close button hides Worlds in the notification area next to the clock, so automations keep running. To quit it completely, right click its icon there and choose Quit. You can turn this off in Settings: Keep running in the tray.
- Where your data is: Settings has Data folder with a Show in Explorer button that opens the folder with
worlds.dbselected.